The length of the post may make the process seem daunting, but it’s really not that difficult. Once you do it a few times, you’ll get the hang of it.
Get Started
The first thing you’ll want to do is log in to your WordPress website’s admin area.
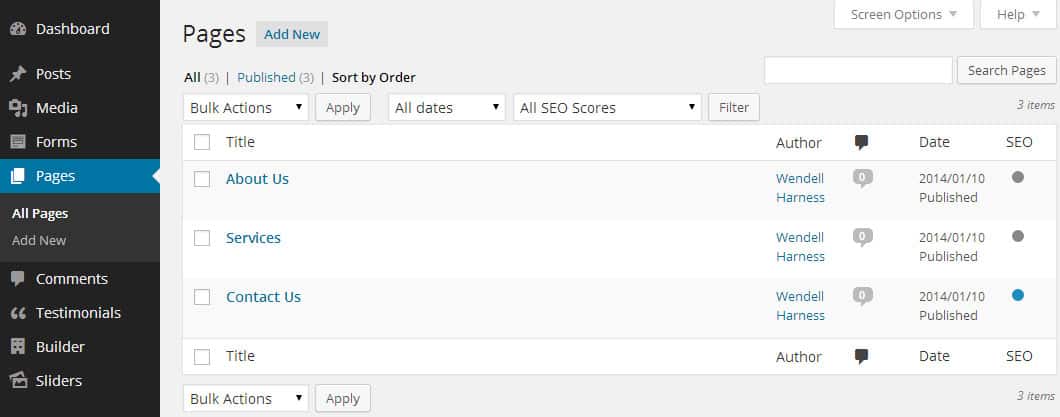
Once you have done that, click on the “Pages” menu item in the left navigation menu. This will take you to a list of all your pages.
Create A WordPress Page
Click the “Add New” button at the top of the page. This will take you to the Add New Page page, which has the WordPress editor and all the settings for your new page.
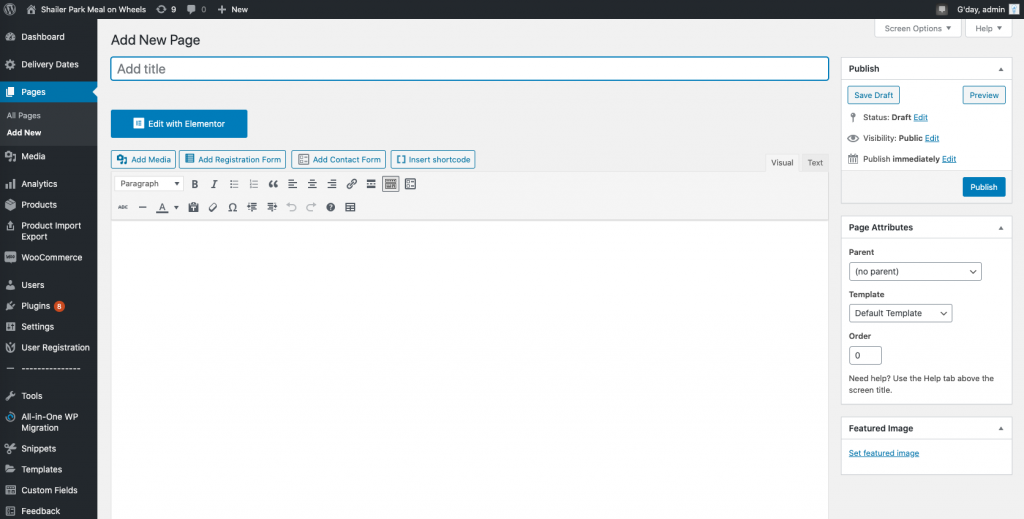
In the top box, you’ll enter the title of your new page.
You will not need to do anything else at this stage. To add content and images to the page, you will go back & edit the page via Elementor later.

Save your work so far, by pressing the “Draft” button in the top right corner.
This saves the page without making it publicly visible on the website.
Now press the blue “Edit with Elementor” button at the top of the page.
You can follow the instructions from point 2 on this page, to edit the content and images for the page.
Once you have configured the content for your page and exited out of Elementor, you will be back on the “Edit page” screen.
Click the blue “Publish” button. This makes the page live to the public, but may or may not show up in your navigation menu, depending on how the menu is now configured.